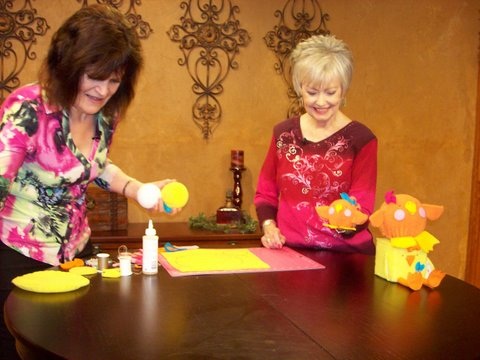
It is the first Monday of the month, time for the Designer Blog Hop Crafts Connection! Forty talented designers strut their stuff and offer some surprises as you hop along! We are celebrating interNational Craft Month! With Easter just a few weeks away I am featuring the tutorial for the cute chick/duck I demoed for a segment of Creative Living with Sheryl Borden.
Sheryl is holding the baby duck in the photo that I demoed on the show. In yellow it becomes a cute chick!
Materials:
3", 6" balls, 4" cube of MakeitFun STYROFOAM ™ Brand Foam
1/6 yard yellow fleece
1/3 yard orange fleece
9" x 12" pieces of Canary (yellow), Papaya (orange) scraps of Fuchsia, Seashell Pink, Caribbean Surf ( teal) Xotic Felt by National Nonwovens
6" fabric scrap
1 chenille stem
1 skein black, pink embroidery floss
6 black, 12 colored head quilt pins
Aleene's Fabric Fusion™
Upholstery thread
Embroidery Needle
5", 8" Westcott Brand® Titanium Steel Scissors
(Ruler, measuring tape, pencil, circle templates for large duck 12", small 8")

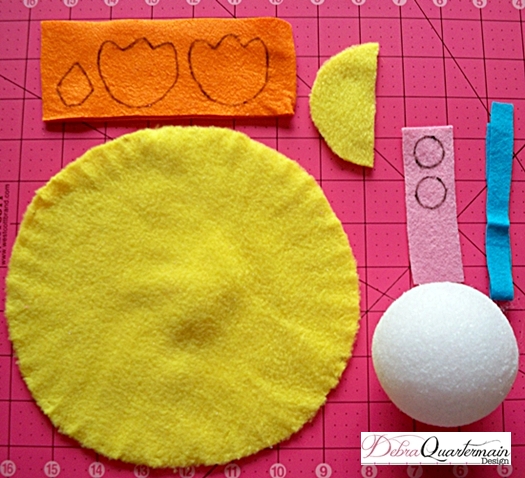
- Making the Ducks: For both the 3" and 6" ducks construction is exactly the same. The pattern pieces included are for both sizes. Any variations will be indicated in instructions. For the 3" duck cut a 3" and 8" fleece circle. For the 6" duck cut two 3" and one 12" circles. Cut two of each cheeks, beaks and four of each foot from felt. Cut ½" by 9" strip of felt for bows.
.
- With upholstery thread anchor thread at edge of the large circle. Sew a small basting stitch around the complete circle.
- Pull stitches slightly. Place circle over ball pulling stitches tightly. Circle should stretch to close. (On larger duck if this does not happen, a small circle can be glued on bottom to finish the body.) Secure thread and cut.
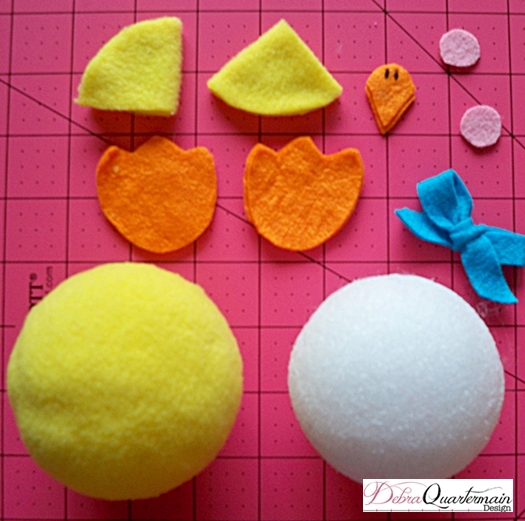
- For small duck cut 3" circle in half. Fold in half again wrong sides together and glue. For large duck fold each 3" circle in half wrong sides together and glue. Glue wings to sides of body as shown in photo.
- Glue beak pieces together angling top one slightly higher than lower beak. Make two small stitches at top of beak. (These stitching details are optional; they can also be recreated with a fabric marker.) Glue beaks to center of face slightly above wing line.
- Insert two black head pins as eyes. Adjust until you are pleased with location. Remove and dip in glue, reinsert pushing in to indent in face slightly.
- Sew around cheek circles with pink floss if desired or use fabric marker or add just as is. Glue to face of duck under eyes. Refer to photo for placement.
- Place feet together in pairs, reverse one pair. Glue together. Outline in black floss with a small stitch as an option. Glue feet to bottom of bird. Tie bow from felt strip, pin or glue to head.
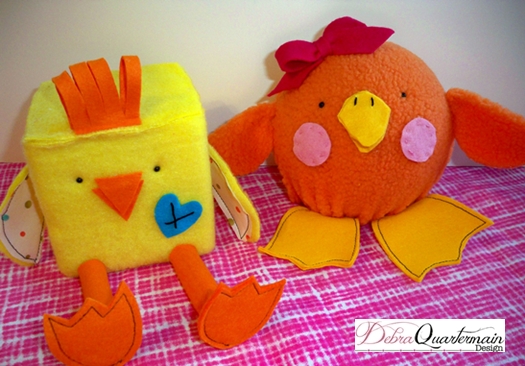
- Making the Chicken: Use the ruler to cut a 4" by 16" strip of fleece. Cut two 4" squares of fleece and one 3" circle. Cut one 1 ½" by 3" topknot piece, two beaks, two 3" by 3" strips and four feet from orange felt. Cut one 3" circle from fabric scrap. Cut one heart from teal.
- Begin at one edge of cube and glue long fleece strip. Wrap fleece piece around cube bringing it back to the edge to meet. Glue in place. Glue each 4" square on the opposite two remaining sides along edges. Press fleece seams together, add more glue if needed.
- Cut 3" fleece and fabric circles in half for wings. Glue or sew with black around edges. Pin or glue in place on either side of chicken. (Approximately at 3" mark.)
- Cut chenille stem in two 3" pieces. Roll an orange strip around each leg and glue. Place feet in pairs reversing one set. Glue or topstitch in black around edges. Glue to end of each leg. Glue to edge of body.
- Glue beak pieces together with top one slightly above lower beak. Glue to face. Insert two black head pin eyes. Add glue to ends and reinsert indenting slightly.
- Fold topknot in half, cut through from fold to 1/4 " from ends. Glue to top of head. Stitch through heart with black floss. (Optional or use fabric marker.) Glue heart to body.
Have fun hopping! Leave a comment here to enter your name for a fabulous pair of Westcott Brand® Extreme EdgeTitanium Steel Scissors! 


