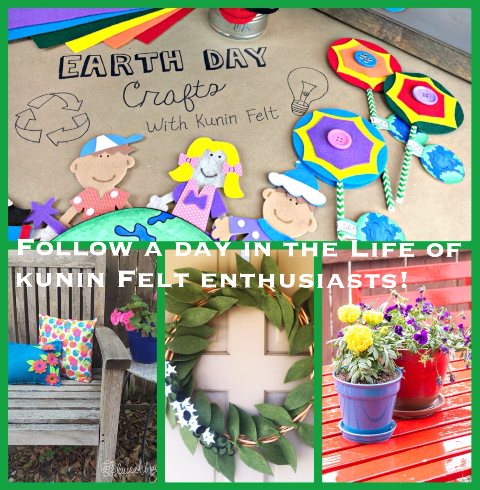
Welcome to a day in the life of Kunin Enthusiasts. That would be me! I love Kunin felt. I have been using Kunin felt for crafting my whole life! The fact that Kunin felt is made from recycled plastic water bottles, over 350,000,000 so far this year is incredible! It also is amazing to use around the house in many ways and in the garden. Say good bye to weeding.
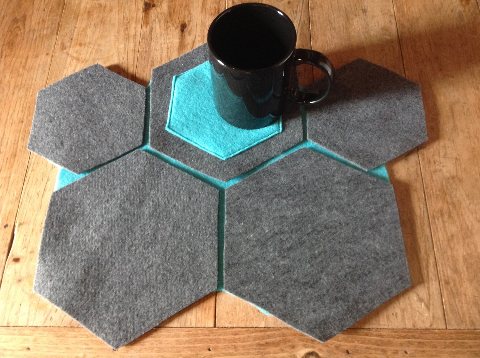
Right now I am enjoying a cup of coffee on my hexi mug rug made from the Premium felt which is super soft and thick. I made a slightly larger mug rug to hold a plate of cookies. Today is definitely a three cookie day!
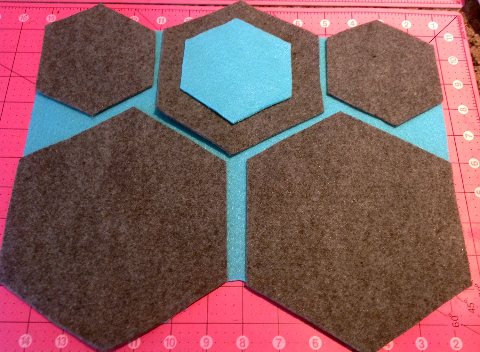
You will need: (for each placemat)
12” x 18” Kunin Eco-fiplus™ Premium Felt, 1 Charcoal, 1 Lagoon
Fabri-tac Adhesive by Beacon www.beaconadhesives.com
Hexi patterns available online, 7”, 5”, 3”
Scissors, plain paper, ruler, pencil
Instructions:
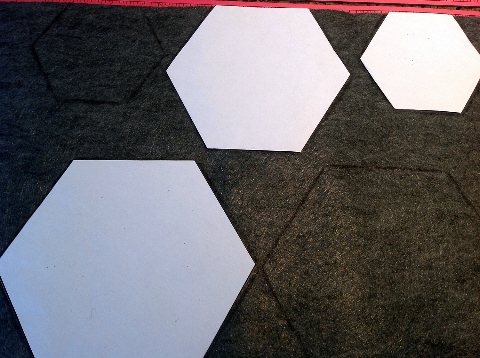
1. From the gray felt trace and draw two 7”, two 5” and one 3” hexi. Cut out hexis.
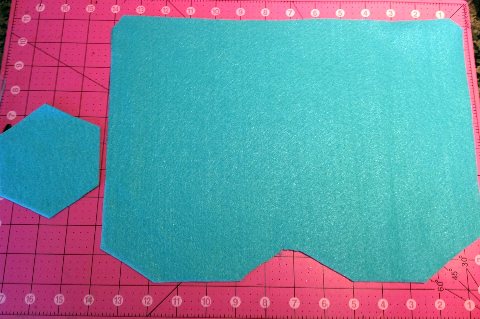
2. Place gray hexis on lagoon piece as shown to create pattern. Draw around. Cut out lagoon piece. Cut one 3” hexi from lagoon scrap piece.
3. Arrange and glue hexis in place.
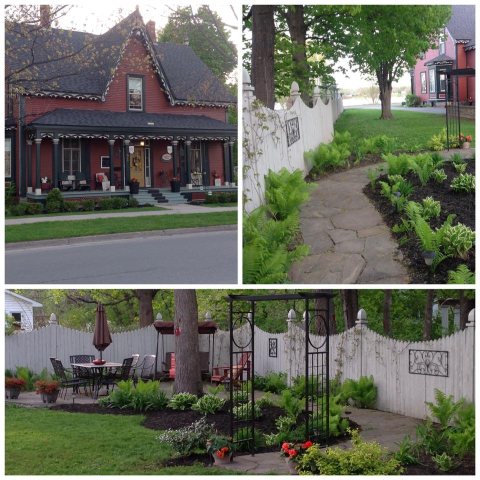
Here is my garden, always a work in progress but definitely looking good. I weeded, cleaned up and then unrolled a bolt of felt, cutting holes to fit existing plants. I added mulch over top. The mulch adheres to the felt so on the slopes it does not slide off. You can match your felt color to the mulch and it is also inexpensive and easy to work with. Here is to a weed free summer!
Thank you for stopping by. Enjoy visiting all of the other Kunin enthusiasts found here.
Visit
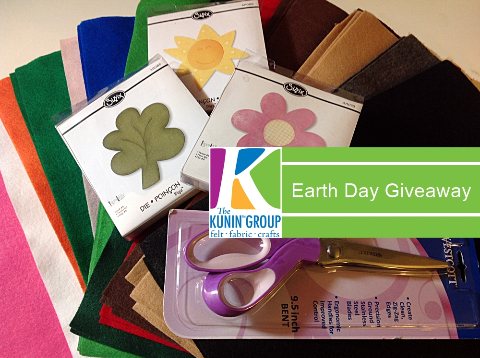
Check out the Kunin Facebook for more EARTH DAY inspiration and to enter the Earth Day Giveaway. Only a couple days left!
Thanks for stopping by.
Debra